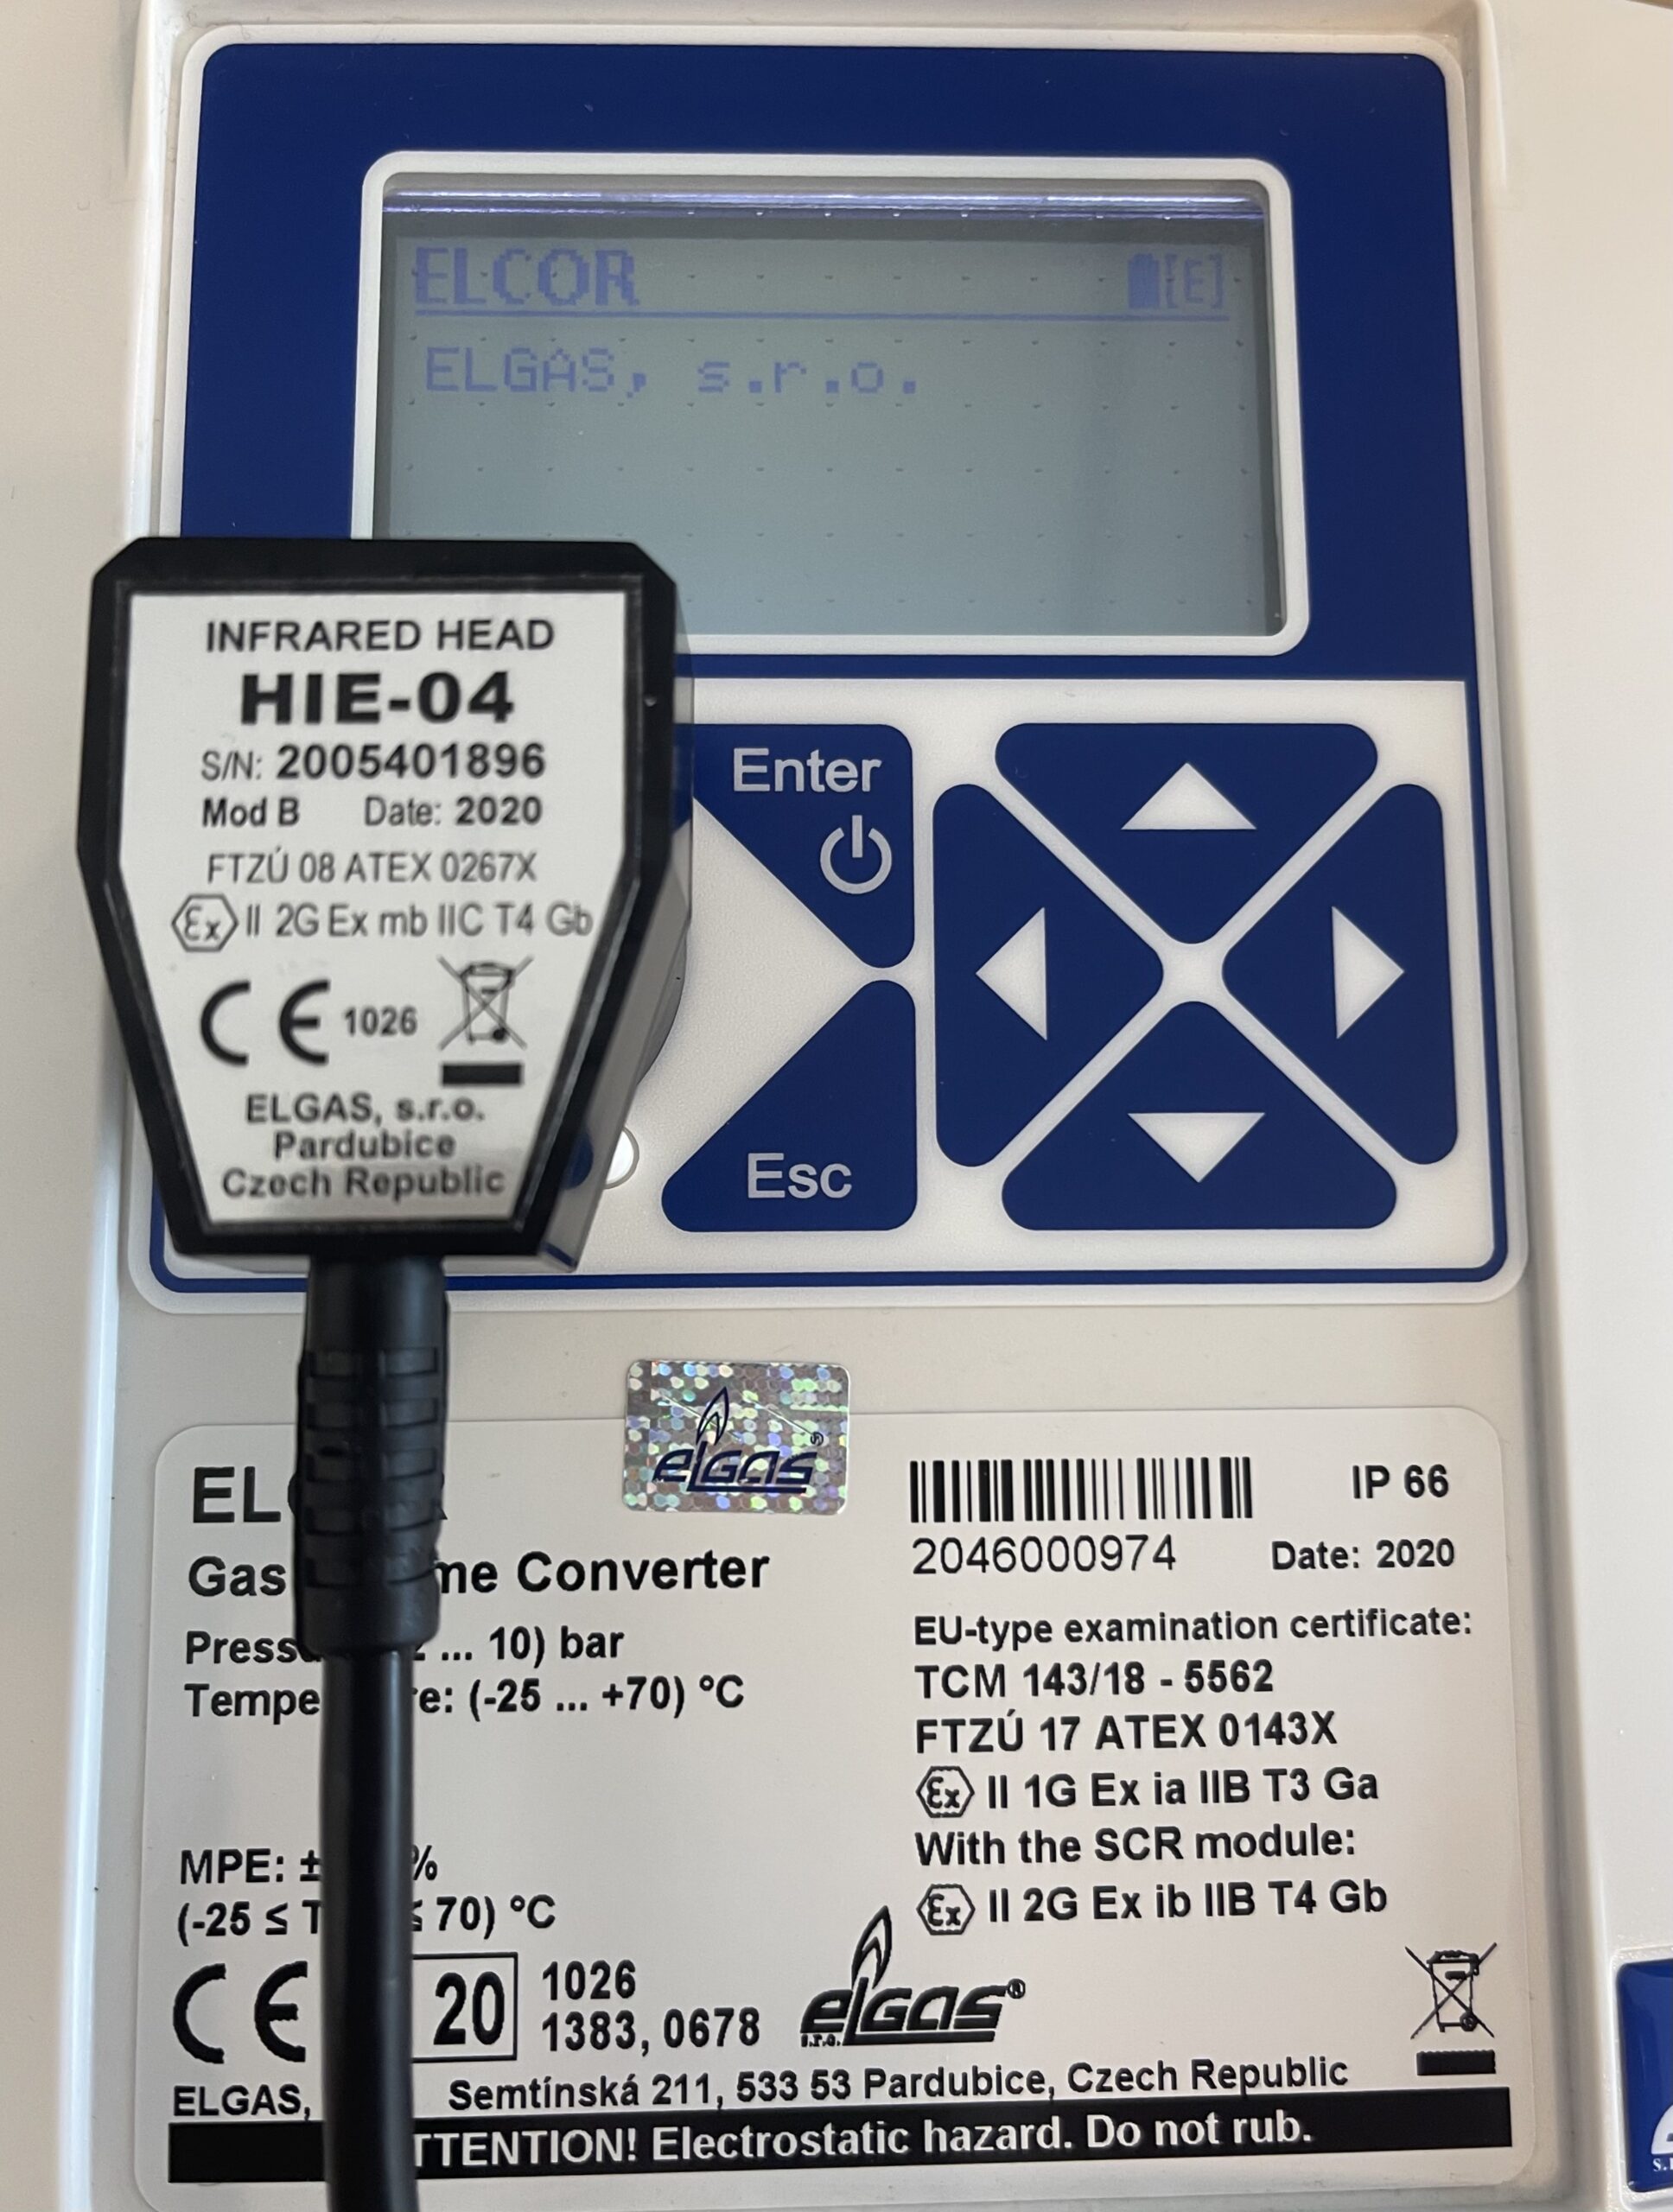
USB DRIVER FOR
INFRARED HEAD
HIE-04 AND HIE-04 MOD A
USB drivers and installation of the optical head HIE-04 and HIE-04_mod A
There are two variants of the infrared head HIE-04 with the USB connection available on the market with the following marking on the nameplate:
HIE-04 … head supplied in a period from year 2013 till the beginning of the year 2016
HIE-04 Mod A … head supplied from May 2016
For use with the PC it´s necessary to have a suitable USB driver installed on the PC. While the older variant of HIE-04 uses a special driver (ELGAS) the variant HIE-04 mod A uses a standard certified FTDI driver for ease of inst
1. Installation of the head HIE-04 Mod A
Having connected the head into the USB port, the PC will search for the required FTDI driver automatically using the internet network; the driver should be installed automatically.
If your PC is not connected to the internet, you can download the driver from the Elgas website a copy of the Window operating system.
a) Windows XP and Windows 7: CDM v2.10.00 WHQL Certified.zip
b) Windows 7/8/10: CDM v2.12.10 WHQL Certified.zip
After decompression of the ZIP file you´ll get a single EXE file. Run the file and the installation of the driver will proceed automatically.
To simplify the installation of optical head under Windows 8, 8.1 and 10 the utility (HIE04_default) can be used that changes the identification of the optical head in the Windows from “HIE-04” (driver ELGAS) to “USB serial port” (FTDI driver). With this change, a standard FTDI driver will be used that should be installed automatically by Windows. The utility is available for download below.
USB driver for infrared communication interface HIE-04. Version 2.08.24.
Supported OS: MS Windows XP / Vista / Windows 7 / Windows 8 (32bit and 64bit).
How to install USB driver HIE-04
1. Uninstall old HIE-04 Driver and restart.
2. Download the driver. The link for the driver download is available on the end of this page.
3. Do not plug HIE-04 USB connector yet!
4. Check whether PC is 32-bit or 64-bit System type and then follow step 4.
For Windows XP please choose “Start – Settings – Control Panel – System”. In case there has been displayed none information about system architecture or there has been information about 32-bit system, the system is 32-bit. In case there has been displayed 64-bit, the system is 64-bit.
For Windows 7 please choose “Start – Control Panel – System and Security – System”. System window opens. In case there has been displayed none information about system architecture or there has been information about 32-bit system, the system is 32-bit. In case there has been displayed 64-bit, the system is 64-bit.
For Windows 8 please use the WIN+X key combination. In the bottom left corner the WinX appears. Choose “System” and the System window opens. In case there has been displayed none information about system architecture or there has been information about 32-bit system, the system is 32-bit. In case there has been displayed 64-bit, the system is 64-bit. For this system the Advanced startup mode must be additionally performed. To do this, please follow this procedure.
… now please carry on with following of these steps …
5. For Windows 7 a 8 it is needed to run the installation driver file as administrator (right click on “Setup_64bit_en_v2.08.24.exe” or on “Setup_32bit_en_v2.08.24.exe” and choose “Run as administrator”).
6. For 64-bit System choose “Setup_64bit_en_v2.08.24.exe”
7. For 32-bit System choose “Setup_32bit_en_v2.08.24.exe”
8. Please read carefully dialog windows, which appear and follow the instructions.
Information about the driver
- Version: 2.08.24
- Language: English
- Released: 18.6.2012
- Supported OS: Windows Server 2008 R2
- Windows 7
- Windows 7 x64
- Windows 8
- Windows 8 x64
- Windows Server 2008
- Windows Server 2008 x64
- Windows Vista
- Windows Vista x64
- Windows Server 2003
- Windows Server 2003 x64
- Windows XP
- Windows XP x64

Opening Hours:
Monday - Friday: 8am - 5pm
Weekends - Closed
SALES EMAIL IS MONITORED 24/7
